WORKING WITH YOU
EVERY STEP OF THE WAY.
Whether your project involves new construction, apartments, HOA communities, or exterior building systems, we bring architectural insight, experienced field crews, and a thoughtful, efficient approach to every project.
[1 ] ASSESS
Site assessment and existing
condition review of your project's needs
[2 ] RECOMMEND
Tailored waterproofing solutions for long-term performance and value
[3] INSTALL
Efficient installation with minimal disruption to occupied properties
[4 ] FIELD OVERSIGHT
17+ years field operations Lead for extensive quality control, long-lasting protection, and value

Decks & Pedestrian Areas
• Balconies
• Elevated Decks
• Walkways
• Stair Systems
• Planters
Coatings & Sheet Metal
• New Construction
• Traffic / Vehicular / Heavy-Duty Coatings
• Sheet Metal
• Underlayment / Between-Slab Waterproofing
Below-Grade Waterproofing
• Water Tanks
• Retaining Walls
• Pre-Apply / Post-Apply Systems
• Negative-Side / Positive-Side Waterproofing
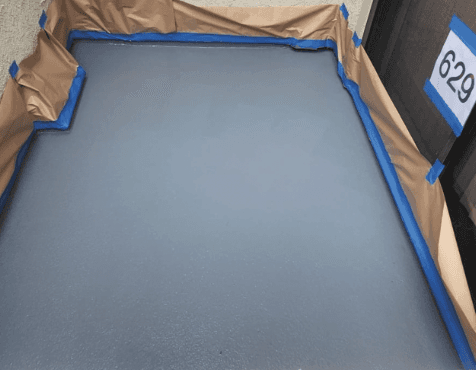
Surface Grinding
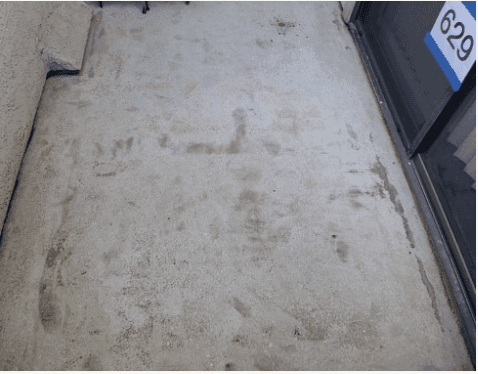
Scratch Coat
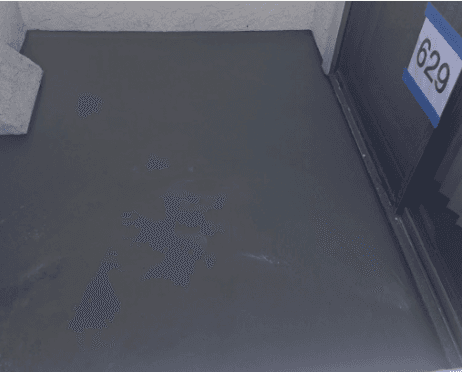
Primer With Sand
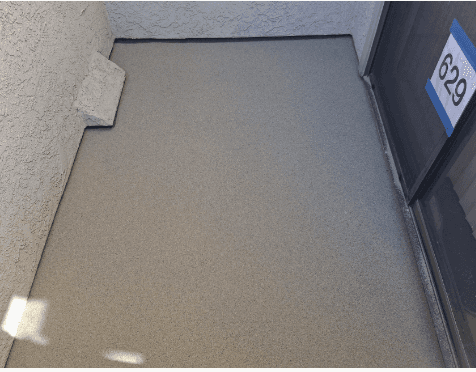
Waterproofing & Color Coat